I started a year course sword making at Smederij Atelier Alkmaar, in this course they let you work out a basic sword based on a type that existed in the past.
My choice was a Ainu/Emishi sword(Japan) - Warabite-To.
This sword used by the Ainu is hard to find info about, especially on the internet you have to check everything, people are just writing things down and have a copy paste behavior.
The Warabite-to fine iron sword differed from anything manufactured in Japan or the continent.
These swords were single bladed and and used for slashing from above, an ideal weapon for a horse mounted warrior.
These swords made their way south to the Japanese who then where influenced by it's design to eventually produce the samurai sword.
What is known is that the design was incorporated by the Japanese in the creation of the later samurai sword - Tachi.
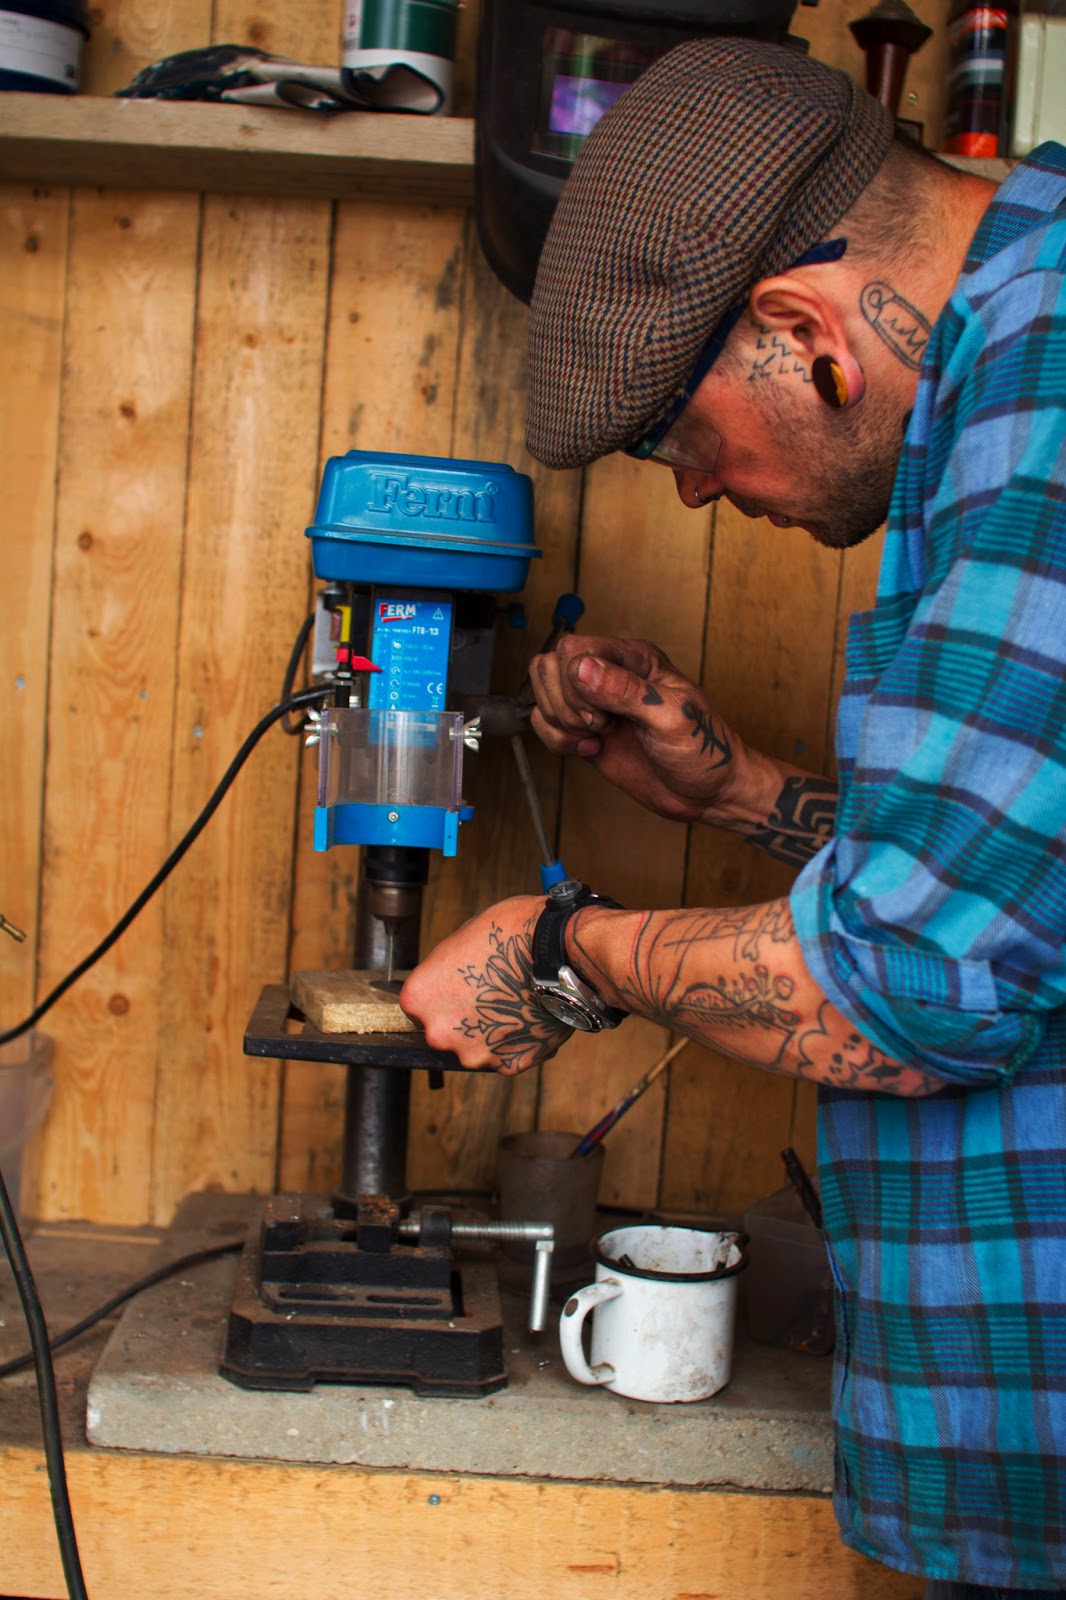
After a lot of research and drawings with calculations and a couple of months later i started to make some progress.
The steel i am using to forge the sword out is made from a homogeneous piece of steel in layers that's made out of two different types, a high carbon type of steel and a 15th century Dutch puddle steel/wrought iron.
Before i started to forge the sword we had to make tests and a sort of scale model to see if things would work out before starting for real.
Here are some pictures of the progress and i try to make some updates this year.
Thanx for checking out my blog, take care Igor.
 |
| Ainu warrior |
 |
| Design on paper |
 |
| Forging test-Kissaki |
 |
| Polished with a stone |
 |
| Yasuri-me/File marks |
 |
| Start tsuba test forged red copper |
 |
| Some wooden sword scale tests |
 |
| Polished on japanese waterstone and etched. |
 |
| TSuba & Habaki with patina/red copper |
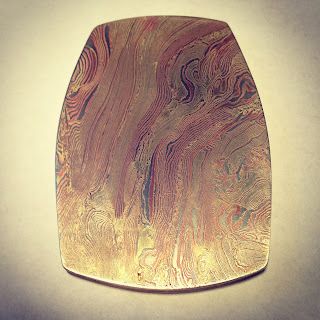 |
| Mokume-gane Tsuba1 Nickel/copper/brass |
 |
| Forged red copper for tsuba |
 |
| Tsuba2 red forged copper with hammer stroke pattern |
 |
| Start forging Habaki of red copper for sword |
 |
| Archaeological find of a Warabite-To |