"The best knife is the one you have with you when you need it."

1.6.13

The making of - forging in progress

While i was working on a order of a customer (small mushroom knife) i had the privilege that Inge Tuinier, a great starting photographer,  made pictures of the whole  forging progress i would like to share with you.
Thanx for checking my blog, take care Igor.


First picking out the type of steel what i want to use
Then heat it up til orange and start forging the bar into shape


After roughly having a shape i cut the steel for the right lenght
Forging the point


Forging the handle (full tang) in shape
Checking out shape with the design on paper
Forging the shoulder of the knife

Hammering the finger guard
After cooling down, heath up again for stamping the mark


Placing the mark stamp
After cooling down, drill the pinholes for the scales

Before hardening grind some rough things away

Some fine tuning with a belt sander
Then heath again and harden the knife
Temper the blade


Finished for scales, sanding, polishing.

Picked out some nice tiger striped wood handle scales


Result before working it all out


11.5.13

Forging ahead


After working as a volunteer for Smederij Atelier Alkmaar at the DKE (Dutch Knife Expo) i had some new inspiration.
The Expo was great, the workshops were busy and we had a real good day.
In this period a made some new things, tested different materials/shapes and mostly i had allot of fun.
I made a 'Brut de Forge' outdoor chef knife for a customer and my second axe.
The passion for Bushcraft and forging comes here together  by making knives and axes:)
Take care Igor


After quencing i forgot to soften the blade and broke it with the stress test

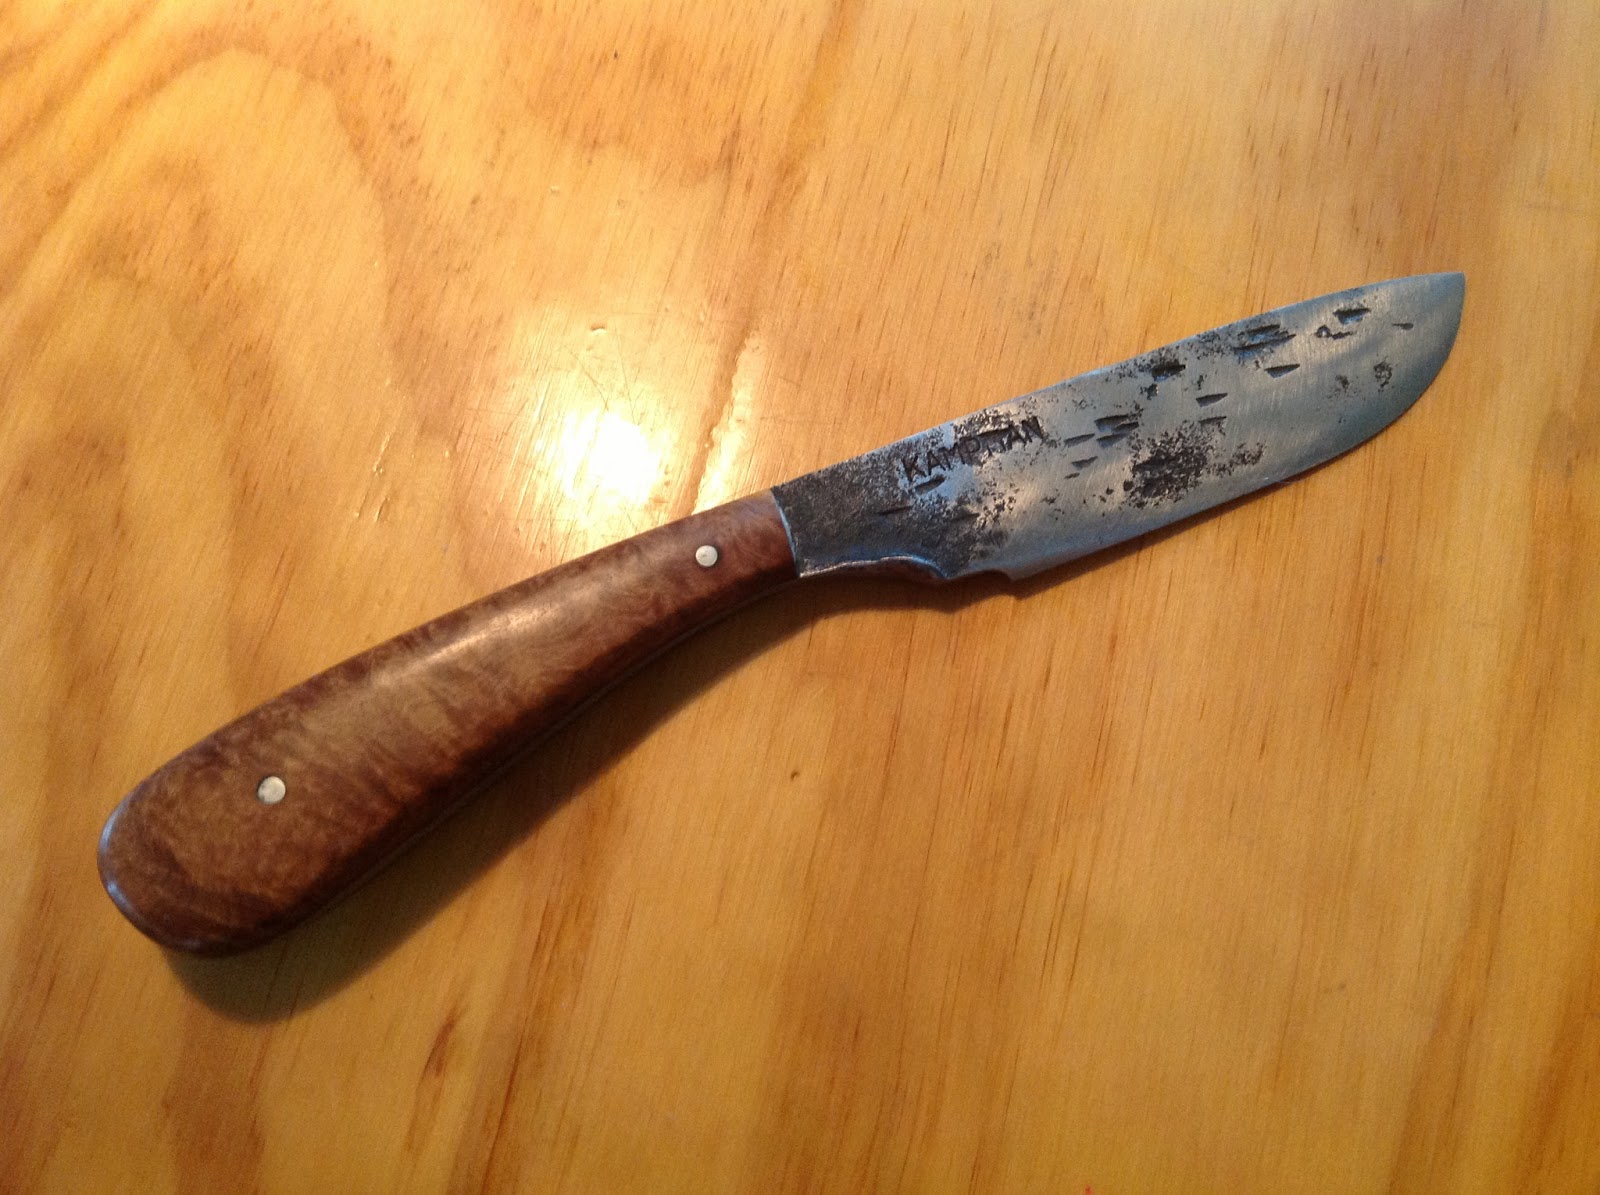
Started this order for a chef, a outdoor kitchen knife, ModifiedCM60 steel.


Finished product, with Desert Ironwood burl  handle, silver/nickle pin and silver dutch coin.


The silver coin is a 2,5  dutch guilder from 1939.

'Brut de Forge' mini bushcrafter

A 'Brute de Forge' mini Bushcrafter and a small Tomahawk/double side axe.


Made a Poplar handle and broke it after testing, so i  made a new one from Beech.

It's my second forged axe and not the last one.
I did not make these two viking axes, bought them on the DKE!

And made another Beech handle

3.4.13

Tim Lively inspired washtub forge


Together with my friend Sammy we made a new style logo and business cards and i am happy with the result.
Last two weeks i have been building on a simple portable washtub forge. I found some time ago a hand crank blower from 1925 out of New York and got a old washtub from my dad who was laying somewhere in the garden.
A family member gave me some old clay with, plaster in it and a couple of heath prove stones.
I mixed the clay with ash, sand and water and  used that to make a shape in the washtub.
On the bottom and the sides of the tub i placed the heath prove stone and the iron tube with the little holes for the air flow of the hand crank,  and finished it all off with the clay.
A couple of day's later  i made a small fire inside the forge to harden the clay.
After that i connected the hand crank on a frame and used an old vacuum cleaners pipe between the blower and the tub for the airflow.  Now it was ready for some heath.  
I had an old small anvil on a woodblock and together with the washtub forge i had built my own portable forging setup.
This weekend we had a demo/workshop with my other company 'PolderBushcraft' and i tested my setup if it was working the way how i wanted.
Thanx to the site of Tim Lively (http://timlively.com/washtubforge.htm)it was very easy to build and it cost nothing to make, all recycled materials.  
I also made a small case with glass to present the knives in.
Check out the photo's below and the first two knives i forged in this great washtub forge on coal!  
Take care thanx Igor.